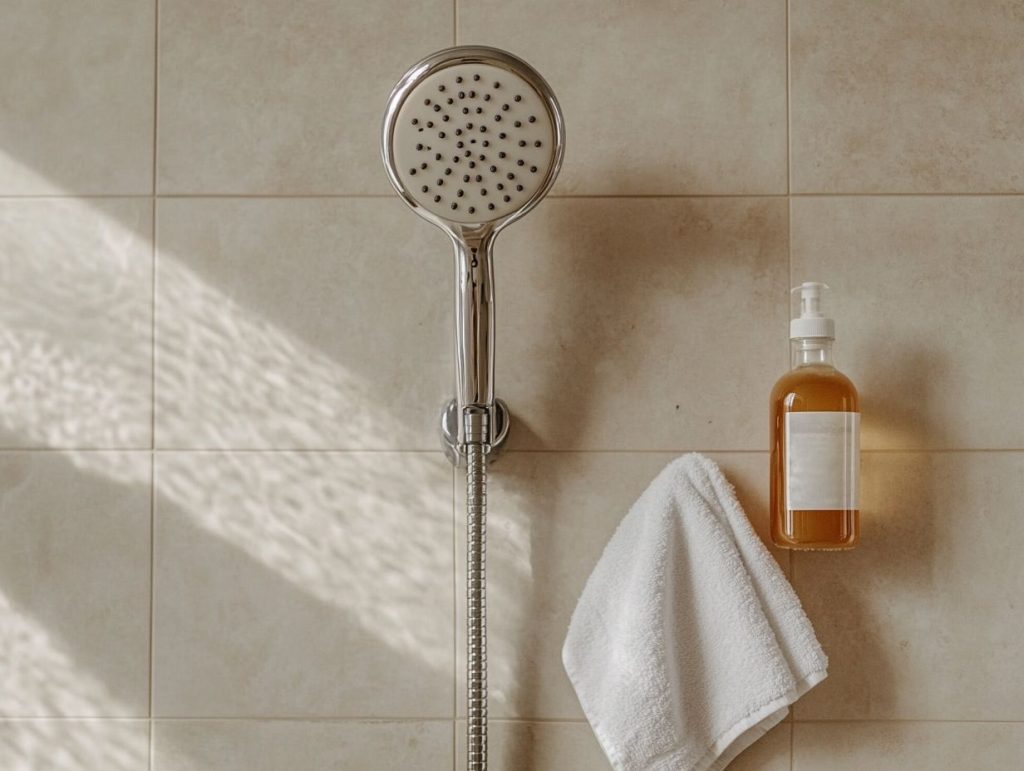
How to Safely Remove Limescale from Your Showerhead
Limescale is a common issue that many homeowners face, especially in areas with hard water. This mineral build-up can accumulate on showerheads, leading to unsightly stains, reduced water flow, and potential damage.
But why does limescale form on your showerhead, and what are the potential health risks? Find a step-by-step guide for safely removing limescale, tips for prevention, and alternative cleaning methods to keep your showerhead sparkling clean.
What is Limescale?
Limescale is that hard, chalky substance you see forming on surfaces that come into contact with hard water. It often appears as an irritating white residue on your fixtures, appliances, and plumbing, and it’s a sign that minerals have been accumulating over time.
If you let it remain, limescale can seriously interfere with the efficiency and lifespan of items like your showerheads, taps, and water filters. Understanding what limescale is and how it forms is crucial to keeping your home in good condition.
Being aware of your water hardness levels will help you address this troublesome issue before it becomes unmanageable.
Explanation of Mineral Build-Up
The mineral build-up, often called limescale, occurs when hard water leaves behind calcium deposits on surfaces after evaporating. This stubborn layer can be a real pain to clean.
You’ll usually find this issue in areas of your home where water is used, like taps, showerheads, and appliances such as dishwashers and kettles. As hard water flows through your pipes, it can leave those annoying mineral deposits behind, resulting in unsightly spots and making your appliances less efficient.
The good news is that regular cleaning solutions are designed to tackle limescale. If you make descaling your appliances routine, you can significantly reduce that build-up.
By being proactive about water hardness, you keep your fittings looking sharp and extend the lifespan of your household items, ultimately saving you time and money in the long run.
Why Limescale Builds Up on Showerheads
Limescale tends to build up on your showerhead mainly because of hard water, which has higher levels of minerals such as calcium and magnesium. Over time, as water evaporates, those minerals are left behind, forming a stubborn layer that can block water flow and make your shower less efficient.
Additionally, factors such as water temperature, how often you clean, and the overall quality of your water can all accelerate limescale buildup. By understanding what causes this issue, you can take some preventative steps and establish a solid maintenance routine to keep it at bay.
Causes and Contributing Factors
Several causes and contributing factors lead to the build-up of limescale on your showerhead, with hard water being the biggest culprit, thanks to its high mineral content.
When the water temperature rises, minerals like calcium and magnesium precipitate and cling to surfaces, creating that pesky mineral scale. The type of fittings you have can also make a difference; older showerheads tend to trap more deposits and can make cleaning a real chore.
If you’re not consistent with your cleaning habits, you might notice your fittings suffer more from limescale build-up, which can reduce water flow and efficiency. By understanding these factors, you can take proactive steps to combat limescale and keep your plumbing in top-notch condition.
Dangers of Limescale Build-Up
The dangers of limescale build-up go beyond just looking unsightly; it can pose health risks and damage your showerhead and plumbing fittings.
When limescale accumulates, it can become a cosy home for bacteria, raising hygiene concerns and impacting the water quality you rely on for bathing.
Furthermore, the corrosion and blockages caused by those troublesome mineral deposits can interfere with your water flow and pressure, making your shower less efficient and potentially leading to costly repairs or replacements.
Therefore, it’s important to understand these implications to keep your health and home in excellent condition.
Potential Health Risks and Damage to Showerhead
The potential health risks linked to limescale buildup are concerning. Bacteria can thrive in your showerhead’s warm, damp environment, raising serious hygiene concerns.
When those mineral deposits accumulate, they create a perfect breeding ground for harmful germs and can even disrupt the water flow through the showerhead. This can increase your exposure to pathogens, which is not what you want.
Regular maintenance and cleaning can significantly reduce these risks. Keeping your showerhead limescale-free ensures it operates efficiently and maintains your bathing environment hygienically. Developing a consistent cleaning routine preserves your fittings’ functionality and helps you maintain a healthier space.
If you neglect this essential upkeep, you might face some health issues in the future, along with costly repairs or replacements due to the damage caused by that stubborn buildup.
Removing Limescale from Your Showerhead
You can easily tackle limescale build-up on your showerhead using some simple, effective methods with eco-friendly cleaning solutions you probably have at home. It’s a straightforward process that starts with whipping up a non-toxic solution using everyday household items like vinegar or bicarbonate of soda.
These natural ingredients are great at dissolving calcium deposits without damaging your fittings or harming the environment. Just follow the steps to safely remove limescale and get your showerhead working like new again.
Step-by-Step Guide to Safe and Effective Removal
To safely and effectively remove limescale from your shower head, follow this simple step-by-step guide using everyday items like vinegar and bicarbonate of soda as your cleaning solution. These natural cleaners not only dissolve those pesky mineral deposits but also keep your fittings shining bright.
- Start by gathering what you need: white vinegar, bicarbonate of soda, a bowl, and an old toothbrush for scrubbing.
- Before you dive in, make sure to turn off the water supply and, if you can, detach the shower head.
- Mix equal parts of vinegar and bicarbonate of soda in your bowl to whip up a powerful cleaning paste.
- Apply this solution generously to the affected areas of the shower head and let it sit for at least 30 minutes. This waiting game allows the mixture to penetrate and break down the limescale.
- After the time’s up, grab your toothbrush and scrub gently, paying extra attention to those crevices and nozzles.
- Finally, rinse everything thoroughly with water, leaving you with a sparkling finish that will make your shower head look brand new.
Preventing Limescale Build-Up
Preventing limescale build-up on your showerhead is far easier than tackling it after it has settled in. With a few simple tips and a regular cleaning routine, you can keep your fittings free from that pesky mineral build-up and ensure your water flows like a dream.
Consider investing in a water filter or using soft water to reduce the hardness of the water in your home. Additionally, keeping up with regular maintenance and cleaning will play a significant role in preventing limescale and helping your bathroom fittings last longer.
Tips for Maintaining a Clean Showerhead
Add these simple tips to your regular cleaning routine to keep your showerhead clean and prevent limescale build-up.
Not only will these practices boost the performance and lifespan of your fixture, but they will also ensure you enjoy a refreshing shower every single time. Start by regularly checking for any signs of build-up; catching it early can save you a lot of hassle.
Soaking your showerhead in a vinegar solution weekly can do wonders for dissolving mineral deposits and keeping it looking as good as new. Check the water flow occasionally; if you notice reduced pressure, it might be a sign that it is time for a deeper clean.
Consider installing a water softener, which can help you tackle future issues with hard water and limescale, making your maintenance routine a doddle.
Alternative Methods for Removing Limescale
Regarding tackling limescale, you have a variety of alternative methods at your disposal, each with its unique cleaning solutions and techniques. From reliable household vinegar to citric acid and even enzymatic cleaners, several options can efficiently eliminate that mineral buildup without relying on harsh chemicals.
In this section, you will compare these different cleaning methods, examining their practicality, effectiveness, and eco-friendliness to help you choose the best approach for your cleaning needs.
Comparing Different Cleaning Solutions
When you’re comparing different cleaning solutions for limescale removal, it’s important to look at how effective they are and how eco-friendly they can be, especially when it comes to household cleaning.
This evaluation is critical because many want to keep their homes clean while reducing environmental impact. With so many options out there, from commercial products packed with harsh chemicals to natural remedies using ingredients like vinegar and bicarbonate of soda, it’s crucial to assess how well each method works.
And don’t forget, while you’re on the hunt for limescale removal solutions, you should also consider how each choice affects indoor air quality and water pollution. Striking a balance between getting that sparkling clean and making eco-conscious decisions is a conversation worth having in today’s world of sustainable cleaning practices.…